ALLEN & HEATH MIXWIZARD WZ4 14:4:2 Betriebsanweisung Seite 25
- Seite / 28
- Inhaltsverzeichnis
- LESEZEICHEN
- MixWizard WZ 1
- 14:4:2 1
- Limited One Year Warranty 2
- Safety Instructions 3
- General Precautions 4
- Introduction 5
- Contents 5
- Allen & Heath 6 WZ 6
- Introducing the MixWizard WZ 7
- Installing the Console 8
- Connecting Power 9
- Allen & Heath 10 WZ 10
- 14:4:2 User Guide 10
- Audio Connections 11
- ALLEN&HEATH 12
- The Console connectors 13
- The MONO Input Channel 15
- The STEREO Input Channel 17
- The GROUP/AUX Masters 18
- The Master Section 19
- TALKBACK 20
- Specifications 21
- Connections 22
- Block Diagram 23
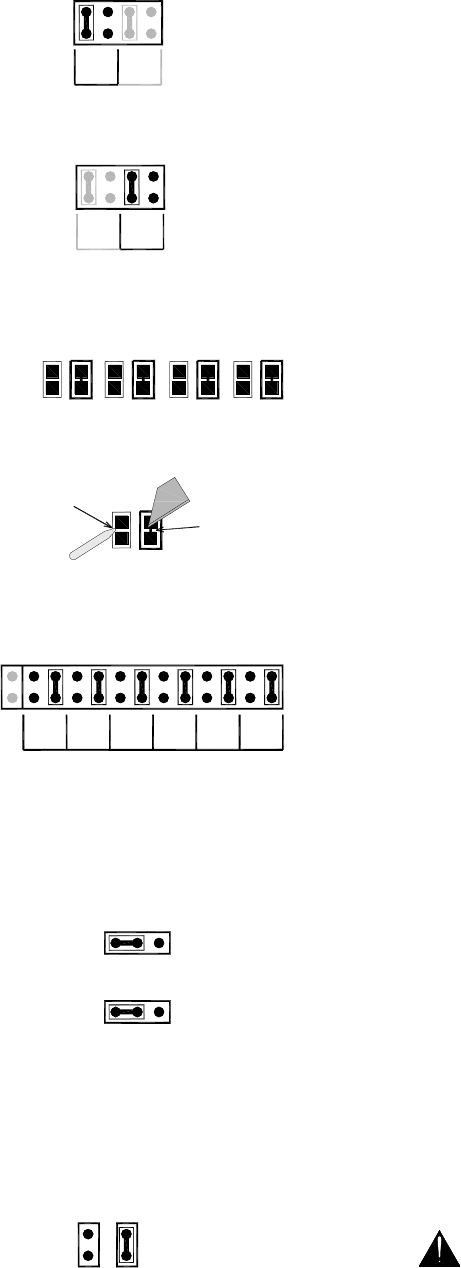
- User Options 24
- Allen & Heath 25 WZ 25
- MULTICHANNEL AUDIO 26
- Cue Sheet WZ 27
Kommentare zu diesen Handbüchern
Verwandte Produkte und Handbücher für Audiomischer ALLEN & HEATH MIXWIZARD WZ4 14:4:2
 (32 Seiten)
 (29 Seiten)
 (48 Seiten)
 (1 Seiten)
© 2020, manymanuals.de. Alle Rechte vorbehalten. | 0.041 s |
 Manymanuals.com
 Manymanuals.de
 Manymanuals.fr
 Manymanuals.it
 Manymanuals.pl
 Manymanuals.cz
 Manymanuals.es
 Manymanuals-pt.com
OK