ALLEN & HEATH GLD Betriebsanweisung
Stöbern Sie online oder laden Sie Betriebsanweisung nach Audiomischer ALLEN & HEATH GLD herunter. ALLEN & HEATH GLD User guide Benutzerhandbuch
- Seite / 60
- Inhaltsverzeichnis
- LESEZEICHEN
- Publication AP9372 issue 1 1
- Publication AP9372 1
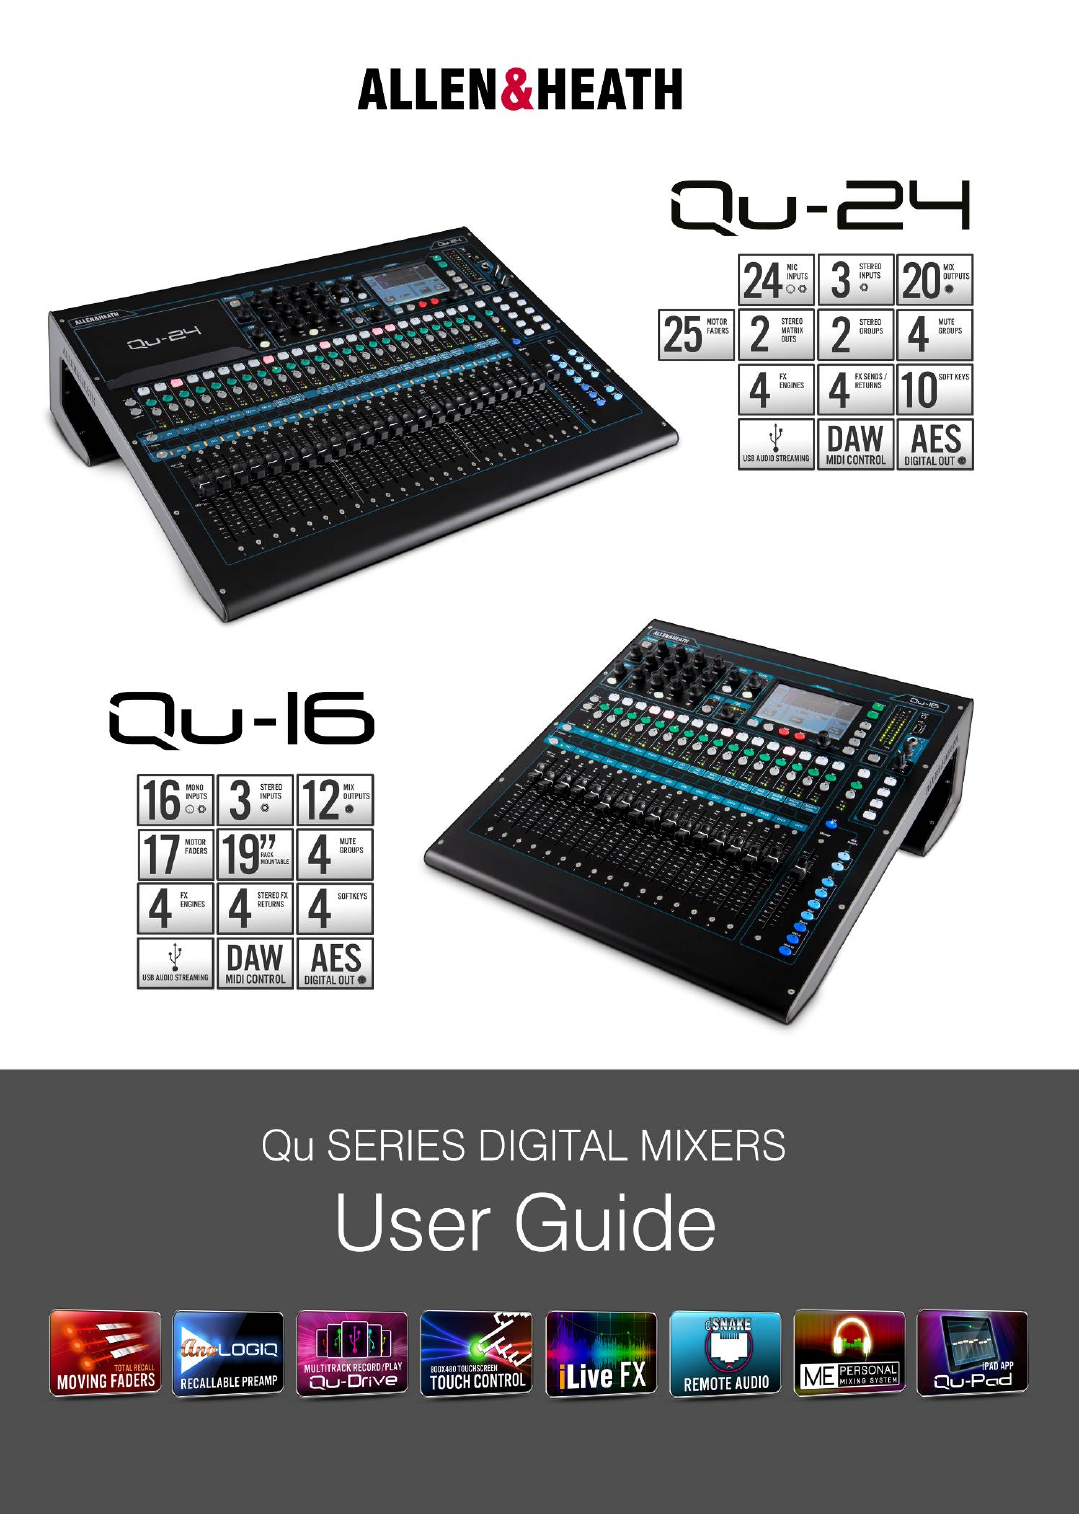
- ALLEN&HEATH 2
- 1. Packed contents 4
- REGISTER YOUR PRODUCT 4
- 2. Contents 5
- About this guide 6
- Please Note 6
- V1.3. A few features are not 6
- 3. Introduction 7
- SYSTEM DIAGRAMQu-24 8
- SYSTEM DIAGRAMQu-16 8
- 4. Connection Overview 10
- 40 personal mixing sends 13
- 5.2 Qu-16 and Qu-24 Systems 14
- 6. Operational Overview 16
- 6.2 Channel Processing 18
- Preamp 19
- HPF (high pass filter) 21
- PEQ (parametric equaliser) 21
- Compressor 21
- Mix processing 22
- GEQ (graphic equaliser) 22
- 6.5 Processing Libraries 23
- 6.10 Mute Groups 27
- Assigning a single channel 27
- Assigning all channels 27
- 6.11 Using the Mute Groups 27
- 7.1 Copy, Paste, Reset keys 31
- 7.3 Home Screen 32
- 7.5 Home Screen – Meters 33
- 7.6 Home Screen – RTA 33
- 7.8 The FX 36
- The FX screen 36
- FX types 36
- Patching the FX 37
- FX processing view 37
- 7.10 Scene Memories 39
- The Scenes screen 39
- The Global Filter screen 40
- The Safes screen 40
- 8.1 Audio Setup -PAFL 41
- 8.2 Audio Setup - Talkback 41
- 8.6 Control Setup - Network 44
- 8.7 Control Setup - MIDI 44
- 8.15 Utility - Calibration 49
- 8.16 Utility – Qu-Drive 50
- 9. Working with a DAW 52
- 10. Qu-Pad iPad app 53
- 11.Resetting the Mixer 54
- 11.2 System Hard Reset 55
- 12.Specifications 56
- 20 degrees 59
Inhaltsverzeichnis
Check www.allen-heath.com for the latest firmware available Publication AP9372 issue 1 Check www.allen-heath.com for the latest firmware available
Qu Mixer User Guide 10 AP9372 iss.1 4. Connection Overview The following connections are available on the rear panel of the Qu mixer. The Qu-16 is
Qu Mixer User Guide 11 AP9372 iss.1 4.2 Local Output Connections Group, Mix, Matrix outputs – Balanced XLR line level outputs for the mono and st
Qu Mixer User Guide 12 AP9372 iss.1 4.4 Powering up the mixer The Qu mixer has an internal universal voltage power supply unit. This means y
Qu Mixer User Guide 13 AP9372 iss.1 5. Connecting dSNAKE Remote Audio The Qu mixer provides local sockets on its rear panel for all audio inputs a
Qu Mixer User Guide 14 AP9372 iss.1 5.2 Qu-16 and Qu-24 Systems The Qu mixer has sockets for all its inputs and outputs on its rear panel and can
Qu Mixer User Guide 15 AP9372 iss.1 5.3 Connecting to the ME Personal Mixing System The Allen & Heath ME Personal Mixing System can be used wi
Qu Mixer User Guide 16 AP9372 iss.1 6. Operational Overview This section provides an overview of the Qu layout and operation to help you get start
Qu Mixer User Guide 17 AP9372 iss.1 Mute key – Press to turn off the channel audio signal. This affects the send to all mixes including LR, groups,
Qu Mixer User Guide 18 AP9372 iss.1 6.2 Channel Processing The SuperStrip provides familiar, analogue feel, one function per knob control of chan
Qu Mixer User Guide 19 AP9372 iss.1 Preamp An analogue preamplifier (‘head amp’) matches each connected microphone or line signal to the operatin
Qu Mixer User Guide 2 AP9372 iss.1 Qu Series products complies with the European Electromagnetic Compatibility directives 2004/108/EC and the Euro
Qu Mixer User Guide 20 AP9372 iss.1 Gain Turn up Gain so that the average loud signal reads into the yellow of the meter. Turn down if any red peak
Qu Mixer User Guide 21 AP9372 iss.1 HPF (high pass filter) The HPF is used to reduce unwanted low frequency sounds such as vocal popping, wind nois
Qu Mixer User Guide 22 AP9372 iss.1 Use the In key to switch the compressor in and out and turn up Gain so that the average volume is similar. Atta
Qu Mixer User Guide 23 AP9372 iss.1 Press the GEQ Fader Flip key to view and adjust the GEQ on the faders while a mono or the LR mix is selected. T
Qu Mixer User Guide 24 AP9372 iss.1 6.6 Channel Routing The Touch Screen presents tabs to access the channel assignments and send levels when its
Qu Mixer User Guide 25 AP9372 iss.1 Channel Mix Sends screen Use this screen to work with the sends and assignments from one channel to all the mix
Qu Mixer User Guide 26 AP9372 iss.1 Mix Routing Select a mix master Sel key while the Routing screen is active to: Adjust the Output Balance betwe
Qu Mixer User Guide 27 AP9372 iss.1 6.10 Mute Groups The Qu features 4 Mute Groups. You can assign channels to a Mute Group so that pressing its m
Qu Mixer User Guide 28 AP9372 iss.1 6.12 The Master Strip Qu provides a dedicated fader strip for the Mix Masters. It presents the fader and contr
Qu Mixer User Guide 29 AP9372 iss.1 6.13 Working with the sends on faders: Select a Mix - Press a Mix key. The master strip presents the mix fa
Qu Mixer User Guide 3 AP9372 iss.1 IMPORTANT - Read these instructions before starting: Safety instructions Before starting, read the Important
Qu Mixer User Guide 30 AP9372 iss.1 7. Touch Screen Mixing Functions The Qu features an 800x480 pixel, colour touch screen for quick and intuitive
Qu Mixer User Guide 31 AP9372 iss.1 Status Bar – This lower screen toolbar shows useful system information and is always visible. Fn key function
Qu Mixer User Guide 32 AP9372 iss.1 7.2 The Sel screens – Processing and Routing Processing Screen – When selected this screen presents the proc
Qu Mixer User Guide 33 AP9372 iss.1 7.5 Home Screen – Meters This screen provides a convenient view of all channel, mix and FX signal activity. Fo
Qu Mixer User Guide 34 AP9372 iss.1 Patch the source to be recorded using the Setup / Output Patch / USB Audio screen. Touch the track 17 box and t
Qu Mixer User Guide 35 AP9372 iss.1 Qu-Drive Multitrack page – This screen presents the controls for multitrack recording to and playback from a US
Qu Mixer User Guide 36 AP9372 iss.1 7.8 The FX Qu features 4 internal stereo FX (effects) processors. Each can be loaded from a library of differe
Qu Mixer User Guide 37 AP9372 iss.1 Symphonic Chorus - A faithful emulation of the 80’s classic chorus effect. Simple to use and frequently request
Qu Mixer User Guide 38 AP9372 iss.1 7.9 Working with FX – Adding vocal reverb: Press the FX key to open the FX screen. Touch to select FX1. P
Qu Mixer User Guide 39 AP9372 iss.1 7.10 Scene Memories Qu provides 100 Scene memories. These store and recall a snapshot of all live mixing param
Qu Mixer User Guide 4 AP9372 iss.1 1. Packed contents Options and Accessories available Qu Mixer Safety Sheets AP3345 – Eng
Qu Mixer User Guide 40 AP9372 iss.1 The Global Filter screen A Recall Filter protects one or more parameter types for all channels. A scene stores
Qu Mixer User Guide 41 AP9372 iss.1 8. Touch Screen Setup Functions Press the Setup key next to the Touch Screen to open the Setup screens. Touch
Qu Mixer User Guide 42 AP9372 iss.1 8.3 Audio Setup –Signal Generator Set up and assign the Signal Generator to test loudspeakers and align levels
Qu Mixer User Guide 43 AP9372 iss.1 Turn on the ‘Custom layer only’ option if you want to lock out the two standard layers and let the operator wor
Qu Mixer User Guide 44 AP9372 iss.1 8.6 Control Setup - Network Use this screen set the TCP/IP address for the Network port and the name used to i
Qu Mixer User Guide 45 AP9372 iss.1 8.8 USB Data – Scene Transfer Individual Scenes can be transferred between Qu mixers via a USB device (key or
Qu Mixer User Guide 46 AP9372 iss.1 8.10 USB Data – Show transfer Qu mixer settings can be stored to a USB device (key or drive) plugged into the
Qu Mixer User Guide 47 AP9372 iss.1 8.11 Output Patch Setup – Surface Use this screen to patch signals to the rear panel Alt Out and AES outputs.
Qu Mixer User Guide 48 AP9372 iss.1 8.13 Output Patch Setup - Monitor This screen presents the patching of the dSNAKE remote audio outputs. This a
Qu Mixer User Guide 49 AP9372 iss.1 8.14 Output Patch Setup – USB Audio This screen presents the patching of the USB audio outputs. This includes
Qu Mixer User Guide 5 AP9372 iss.1 2. Contents 1. Packed contents ...
Qu Mixer User Guide 50 AP9372 iss.1 8.16 Utility – Qu-Drive This screen lets you check and format a USB device (key or hard drive) for use with Qu
Qu Mixer User Guide 51 AP9372 iss.1 8.17 Utility – Firmware Update The Qu mixer operating firmware can be easily updated using a USB device (key o
Qu Mixer User Guide 52 AP9372 iss.1 9. Working with a DAW The Qu mixer can stream audio and send MIDI messages to and from an Apple® Mac computer
Qu Mixer User Guide 53 AP9372 iss.1 10. Qu-Pad iPad app Qu-Pad is an engineer's mixing tool providing wireless mobile control for the Qu mixer
Qu Mixer User Guide 54 AP9372 iss.1 11.Resetting the Mixer There are two ways to reset the Qu settings: 11.1 Reset Mix Settings – A starting poin
Qu Mixer User Guide 55 AP9372 iss.1 11.2 System Hard Reset A power up reset is available if you need to fully reset the Qu mixer settings and memo
Qu Mixer User Guide 56 AP9372 iss.1 12.Specifications InputsMic/Line Inputs 1-16 (Qu-16) 1-24 (Qu-24)Balanced, XLR and 1/4"
Qu Mixer User Guide 57 AP9372 iss.1 12.1 Qu-16 System Block Diagram COMPGEQ28-bandPEQMic/Line 1-16LOCALCH1-16, ST1-3 SourceL+R pre/postLR p
Qu Mixer User Guide 58 AP9372 iss.1 12.2 Qu-24 System Block Diagram Direct Outto LRMixFXPEQPrePostFX Return 1-4FADERMUTETRIMFX sendsTALKBACKHPF
Qu Mixer User Guide 59 AP9372 iss.1 12.3 Mechanical Details The following provides information for mixer installation. The Qu mixer can be operate
Qu Mixer User Guide 6 AP9372 iss.1 8.7 Control Setup - MIDI ...
Qu Mixer User Guide 60 AP9372 iss.1
Qu Mixer User Guide 7 AP9372 iss.1 3. Introduction 3.1 Overview and Features Building on the heritage of the GLD and flagship iLive digital conso
Qu Mixer User Guide 8 AP9372 iss.1 3.2 System Architecture and Processing The following diagrams show the Qu-16 and Qu-24 I/O (inputs and outputs)
Qu Mixer User Guide 9 AP9372 iss.1 3.3 Differences between the Qu-16 and Qu-24 Both models operate in the same way and have a similar touch screen
Weitere Dokumente für Audiomischer ALLEN & HEATH GLD


Verwandte Produkte und Handbücher für Audiomischer ALLEN & HEATH GLD
 (50 Seiten)
 (20 Seiten)
 (60 Seiten)
 (58 Seiten)
© 2020, manymanuals.de. Alle Rechte vorbehalten. | 0.617 s |
 Manymanuals.com
 Manymanuals.de
 Manymanuals.fr
 Manymanuals.it
 Manymanuals.pl
 Manymanuals.cz
 Manymanuals.es
 Manymanuals-pt.com
Kommentare zu diesen Handbüchern